")
Introduction
This is the first of two articles in which we’ll go through the design and implementation of a domain-specific language (DSL) for Minecraft mods. We’ll use the most advanced techniques that we have learned at Strumenta, and we’ll only use open-source tools and libraries.
In this first part, we’ll give an introduction to DSL design and will start planning for an implementation, but we won’t write any code yet. In the second part, we’ll produce a working prototype that we’ll use to build a simple Minecraft mod.
Why a DSL for Modding Minecraft?
Our motivation for writing this article is simple: we want to advocate for DSLs and specifically for our approach to writing DSLs.
However, it’s hard to find good examples of domain-specific languages. Most real-world DSLs, with larger user bases, are kept as closely guarded industrial secrets. On the other hand, languages invented for articles or technology showcases do not make good examples. Let’s see why.
The Secret Ingredient
Companies often keep their DSLs as industrial secrets because:
- those DSLs represent a competitive advantage;
- they are the result of significant investments resulting in years of research, development, and maintenance;
- perhaps most importantly, they’ve used their DSLs to express their business processes, or the business rules in their products and solutions; so, their code, and to some extent the languages themselves, reflect their organizational practices, their expertise, and their know-how.
So, it’s comprehensible that they don’t want to show any of that to the outside world. It would be like if they shared internal, classified documents as examples of good document writing.
Making Up Examples
Made-up languages and examples, instead, have several issues, including:
- they are too simplistic; they work great as toy examples, but don’t capture the complexity of real-world problems;
- the “D” part of the DSL is lacking. They don’t make a good case for any relevant domain.
Usually, companies like Strumenta who develop DSLs (or software in general) have limited or no knowledge of the application domain, and collect the information they need from subject-matter experts (SMEs). When writing a DSL for an article or presentation, authors have no option but to skip the part where, in a real project, they would interview SMEs, learn, think, discuss ideas and prototypes, and iterate. As a result, their examples of DSLs:
- are too generic, thus not domain-specific at all (e.g. a language for doing math), or
- target a domain that’s software-related (e.g. software build scripts), because who wrote the article is a software SME, i.e. a developer or closely related role.
While there’s nothing wrong with languages that simplify software development and engineering, they’re not good examples of what we usually develop. Most users of our DSLs are not software developers; they are subject-matter experts. We don’t want to further spread the idea of DSLs as advanced tools for elite developers requiring esoteric knowledge – because they’re not.
Minecraft
So, by choosing Minecraft mods, we’ve identified a domain that:
- is only partially related to software;
- is known to many people, either directly or through their children or younger relatives.
Yes, we’re talking about modding a video game, i.e. modifying a piece of software, which sounds a lot like development. However, concepts in the language will relate to the fictional in-game world, and the details of how they are to be represented in software and installed in the game are not visible to the users of the DSL.
Indeed, one of the most appealing features of DSLs is that they can be read and written by non-developers, but they still can be interpreted and eventually executed by a computer. In practice, DSLs enable users to write executable logic in a form that doesn’t necessarily look like code, and may borrow existing notations from their area of expertise.
Plus, by choosing to target Minecraft, we can show pictures of the results of executing DSL code. Often, that’s not possible, because there isn’t any graphical output; or it’s not practical, because the results of the execution are themselves domain-specific and only meaningful for subject-matter experts.
Language Design
Language development doesn’t have to follow a rigid “waterfall” model (design everything first, then proceed to implement, test, and ship). Still, we typically start by assessing the requirements and by designing an initial sketch of the language together with a small group of SMEs and interested parties. That way, we can produce an early prototype that will then be the basis for further iterations.
Then, we’ll go back and forth between design and implementation, learning something new about the domain and how our abstractions actually work when applied to problems in the domain.
That said, for Minecraft in particular, we’ll have to play two roles at once: language architect and SME. So, let’s proceed with interviewing ourselves.
Who are the intended users of the language? We aim at kids and adults with potentially little or no programming experience. So, similarity with existing programming languages or notations (e.g. JSON) is not our goal.
What is Minecraft in a nutshell? It’s a “sandbox” type game where the procedurally-generated 3D world is entirely made of blocks. A block is a cube made of some material; the properties of the block depend on the material. The player explores the world in first person and can destroy most of the blocks to obtain items in their inventory. Some represent blocks that the player can place in the game world, while others represent tools that the player can use to interact with the world and, for example, speed up the breakup of blocks (e.g. with a pickaxe). By combining some items in a certain pattern, the user can craft other items.
What should the language enable users to do? A set of common modding tasks (such as adding new block types) that would otherwise require writing a Java library. Testing is out of scope; users will test their mods by running them in the game.
What are the main concepts in the language? I.e. what are “programs” or recipes made of, for the most part? For example, in a OO programming language like Java, concepts would include classes, methods, variables, …
In our case, the Minecraft game world is made of a number of entities that are natural candidates for concepts in the language: blocks, items, tools, mobs (friendly creatures and monsters), etc. We’ll see later that the modding SDK comes pre-filled with a list of those entities that we may add or tweak. However, given the limited scope of this tutorial, we’ll restrict the bounds of our domain and only deal with blocks.
What’s the execution model? That is, how do we turn recipes in the language into behavior, i.e. running code? Common options are code generation targeting an existing platform, and writing an interpreter. In our case, the answer is simplified because we’re targeting Minecraft, so the game will be our execution engine – we don’t even have to develop and maintain it ourselves! To be able to load code into Minecraft, we’ll have to generate Java code and compile it into a mod. Since our users are not developers, we’ll hide this complexity from them; that is, we won’t require that users build the extension by themselves, or even see the extension project at all.
What additional tool(s) are needed? Since this is a tutorial article, we’ll only sketch the language (parser and code generator). We won’t develop any additional tools like an editor, IDE plugins, linter, etc. In real-world scenarios, we usually provide at least a limited editor with syntax highlighting and error reporting. Indeed, we want to ensure that users actually adopt the language and that their productivity in the long run doesn’t suffer – in fact, it should rather improve.
Starting from the Bottom: the Runtime
As often happens, we can improve our design if we include concerns and insights “from the bottom up”; in other words, learning from what we’ll eventually generate. Since we have the possibility to look at the desired result of compiling and running a recipe – that is, a working Minecraft mod, as a software project, and as behavior in a running instance of the game – we can use that information to learn more about the application domain, and potentially to inform our language design.
That’s also what happens when the DSL is a new “skin” or layer over an existing API, as a means to simplify the use of a certain library or tool, or to make it available to non-developers. Sometimes, confusingly, if these existing APIs are designed in a so-called “fluent” style, they get called an “internal DSL”. We prefer to avoid this confusion and only use the term DSL for an actual language with a parser. Still, this confusion is a symptom of APIs and DSLs sharing some design concerns.
In these scenarios, studying the existing runtime can help us design a better DSL – but we also have to be careful not to draw existing cruft into our design. “Cruft” includes poor abstractions introduced because of a lack of knowledge about the domain, or due to a hastily produced implementation, or limitations of the programming language or framework used to implement the existing APIs.
Anyway, it’s not always the case that we target an existing library or framework; often, no runtime exists, and we have to design one alongside the language if we want to make it executable. In any case, expertise and experience, as well as a thorough design process, are always necessary to design a good DSL, not only when no existing reference implementation or runtime exists.
Note that here we’re taking it for granted that we’ll be generating code from recipes in our language. Again, that derives from the existing tooling to author Minecraft mods, as we’ll see in the next section. However, in other cases, it could make more sense to develop an interpreter instead of, or in addition to, a code generator. An interpreter makes it possible (or easier and quicker) to run code on the fly, thus it’s a great choice for simulators, test harnesses, and all situations when we need to rapidly and repeatedly iterate between authoring and validation of behavior.
In our case, an interpreter cannot exist outside of the game engine, as we need the game to run our mods. Integrating an interpreter into the game is a possibility in theory, but it probably wouldn’t make much sense – we’d still have to reboot the game to update our mod, given how the game works, and that would eliminate the development speed advantage that an interpreter would provide, while retaining all the complexity and resource utilization of an interpreter. Anyway, we’ve ruled it out because of the time and space constraints of this tutorial.
Modding Basics
With that in mind, let’s look at how one writes Minecraft mods today. We’ll follow the Getting Started with Forge tutorial. We need a Java installation for the following steps to work, but if we have Minecraft Java Edition installed, we’re already set up.
The first step is to install Minecraft Forge so that it patches the base game with mod-loading powers. To do that, we’ll download the “Installer” from https://files.minecraftforge.net/net/minecraftforge/forge/ and run it. We’ll use this to test the mod in a running instance of the game. The users of our mod will have to do the same to play with it. If the installation is successful, the next time we log into the game, we ought to see something like the following:
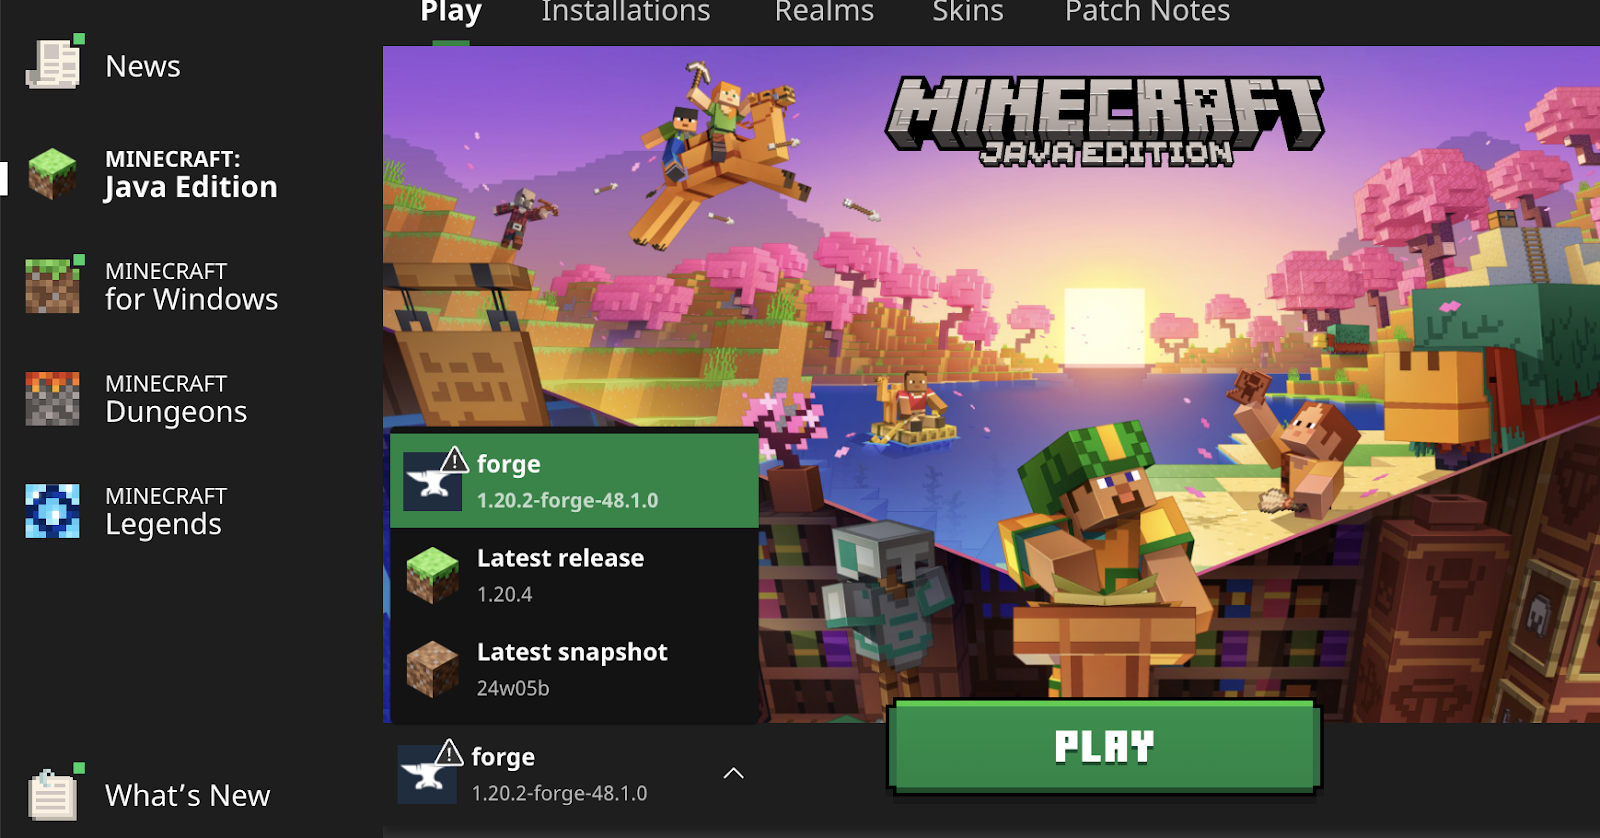
Note the “forge” entry in the dropdown menu.
Then, we’ll download and unzip the Forge Mod Developer Kit (MDK). That is the smaller “MDK” link on the page, not the “Installer” link we followed previously. Once we’ve downloaded the MDK, we can expand it to a directory of our choice. The “mod developer kit” is just a Java project built with Gradle; modders are supposed to modify it to introduce the features they want. As we’ll see, the project comes with sample code to add a new type of block to the game – this is what we’ll bring into our DSL.
Building Our Mod
However, before looking at how our new mod is structured, let’s first familiarize ourselves with building it. Building is the process through which we go from human-readable source code to machine-readable object code, packaged in a way that the target platform can load. In our case, Minecraft is a Java application, so building our module will result in a JAR (Java ARchive) containing byte-compiled Java classes and other resource files.
We can build the project with `./gradlew build` on OSX and Linux, or just `gradlew build` on Windows. `gradlew` is a shell script that will download the appropriate version of Gradle if it’s not available, and use it to build the project according to the contents of the `build.gradle` file. This file comes with the MDK and isn’t meant to be edited by the mod developer.
After the build completes successfully, we’ll find a jar file (Java Archive) in the build/libs directory, such as examplemod-1.0.0.jar. This is the file that we’ll have to install into the Minecraft mod directory to make it available in the game. For example, on my OSX machine, Minecraft loads mods from ~/Library/Application Support/minecraft/mods. If you don’t know where this directory is located on your computer, read on.
If we’ve built and installed our mod correctly, we’ll see it in the game when we play the “Forge” version and click on the “mods” button:
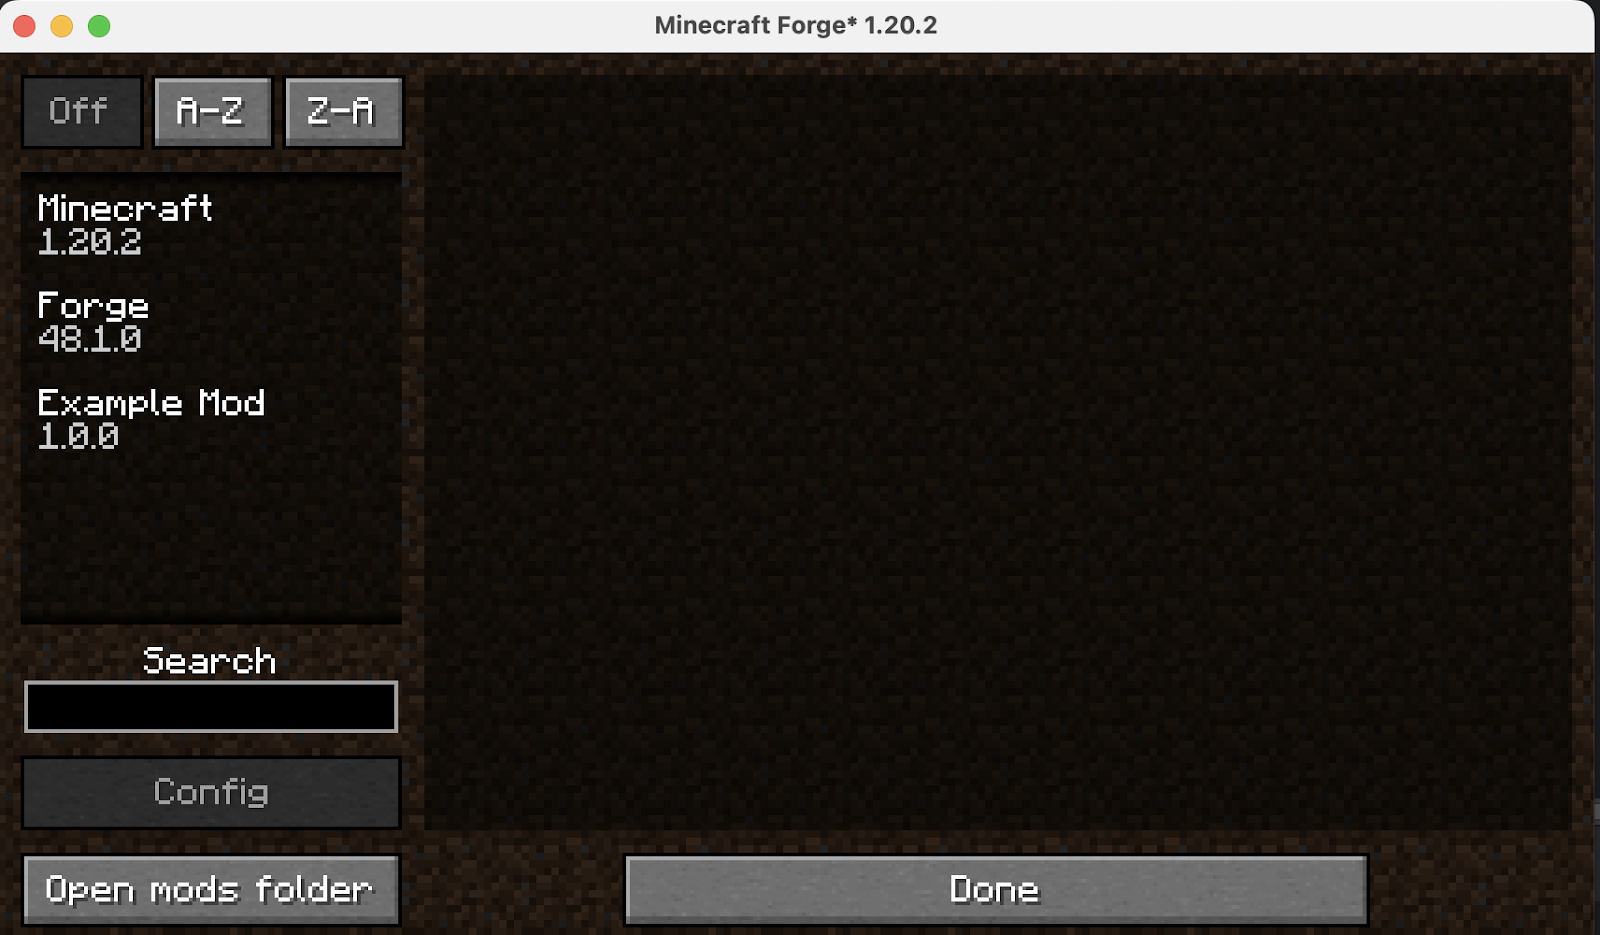
Incidentally, here we can also click on “Open mods folder” to reveal where mods are stored on our machine – so if you don’t know where to copy your jar, you can boot the game and ask it that. Note, however, that we have to quit and restart the game every time we want to install a new version of our mod – Minecraft won’t pick it up while it’s running.
Now, let’s concentrate on the initial steps we have to take to configure and build our mod. These will inform the design of our first language construct.
Changing Basic Mod Properties
One of the first things we’ll want to do is change the mod ID and version. These are the coordinates that identify our mod. They are defined in the gradle.properties file under the root of the project.
This file contains key-value pairs that the Gradle build tool may interpolate into its build configuration. In particular, we’re interested in the mod_id and mod_version properties. Luckily this file is heavily commented so we can learn about all the configurable properties without leaving our development environment.
So, let’s change the mod_id property from “examplemod” to, say, “my_wonderful_mod”:
## Mod Properties
# The unique mod identifier for the mod. Must be lowercase in English locale. Must fit the regex [a-z][a-z0-9_]{1,63}
# Must match the String constant located in the main mod class annotated with @Mod.
mod_id=my_wonderful_mod
# The human-readable display name for the mod.
mod_name=My Wonderful Mod
# The license of the mod. Review your options at https://choosealicense.com/. All Rights Reserved is the default.
mod_license=All Rights Reserved
# The mod version. See https://semver.org/
mod_version=1.0.0
Here, we’ve also changed the “mod_name” that is shown as a nice description in the “mods” screen in the game.
Let’s also keep in mind that the mod ID is also referenced in the mod’s Java code. Let’s open the file src/main/java/com/example/examplemod/ExampleMod.java; we can see the mod id at line 36:
public static final String MODID = “examplemod”;
Let’s change it to match the value we’ve set in the gradle.properties file. If we’ve done everything correctly, after we’ve run “gradlew build”, and copied the jar file into Minecraft Forge’s mods directory, we’ll see the updated mod in our copy of the game:
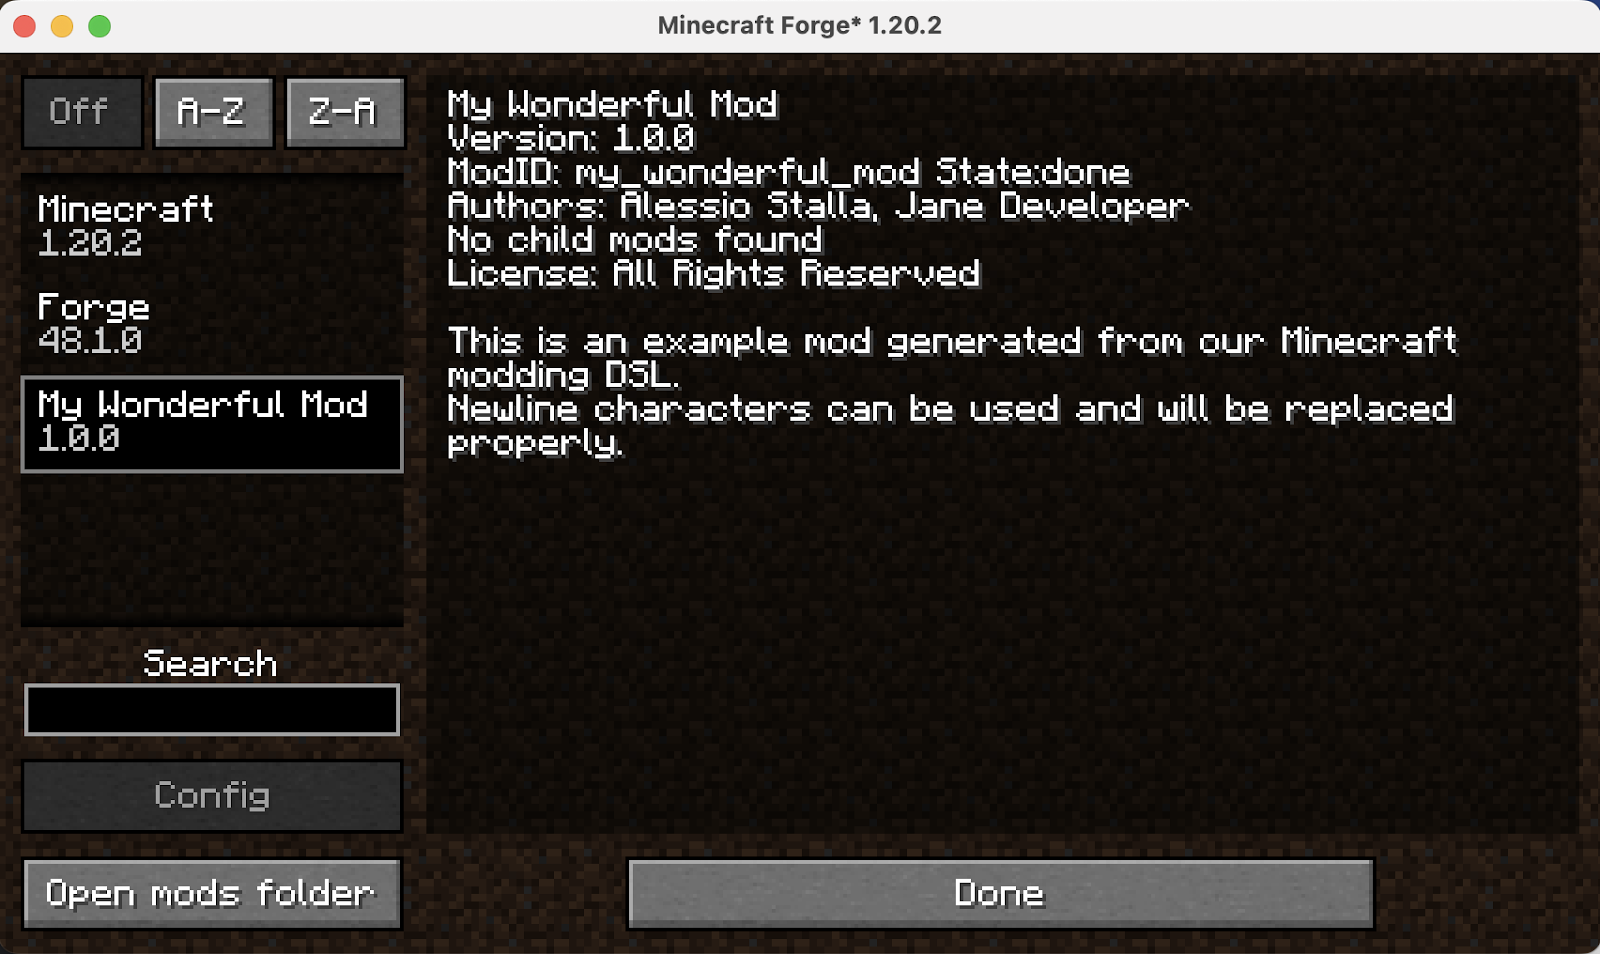
The first feature of our language will be to realize the same outcome we’ve produced here. That is, generating an “empty” mod with a given name, version, and description, that we’ll be able to install into the game by dropping it into the mods directory.
That’s All for Now
With that we conclude the first part of our two-article tutorial. We haven’t written any code yet; instead, we’ve explored our reasons for designing our Minecraft mod language, and we’ve started looking at the concepts that will make up our language, as well as the desired output of our code generator.
Follow us for Part 2 of this tutorial!

")